Common Pipe Lining Problems and How to Avoid Them
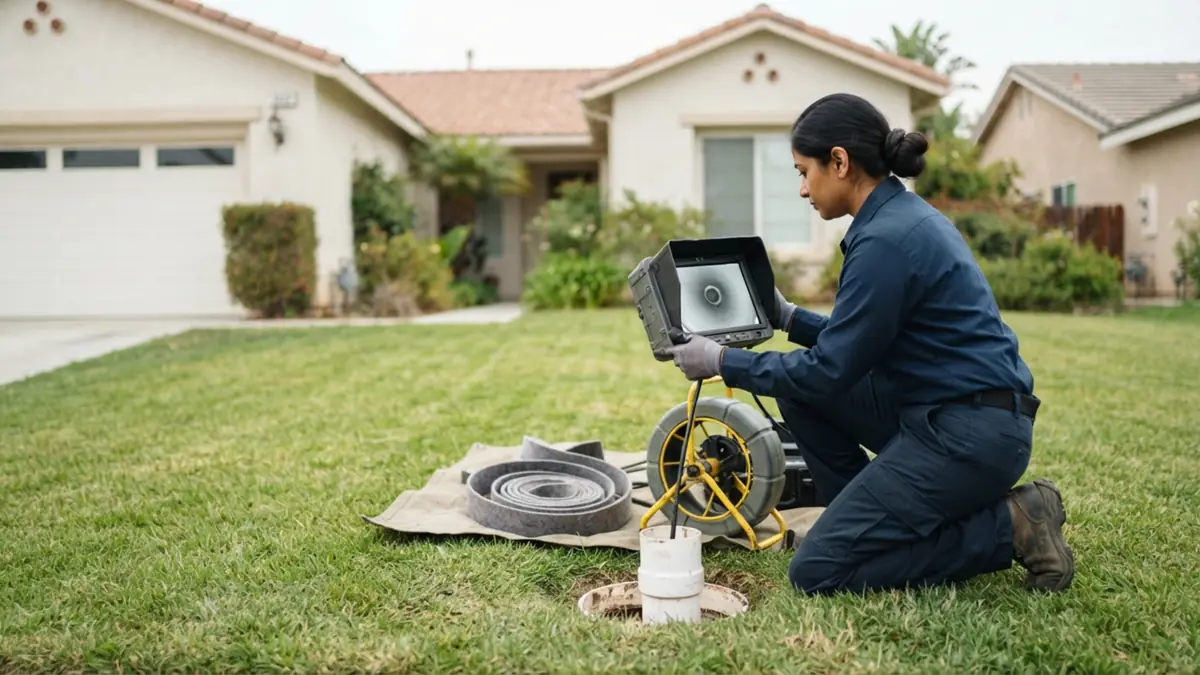
Table of contents
- Why Most Lining Problems Start Before the Liner Goes In
- Problem 1: Roots and Debris Left in the Pipe
- Problem 2: Wrinkles and Folds in the Liner
- Problem 3: Branch Connections Left Blocked
- Problem 4: A Soft or Incomplete Cure
- Problem 5: Lining a Pipe That Should Be Replaced
- Problem 6: Weak Seals at the Ends
- Pipe Lining Problems at a Glance
- Questions to Ask Before You Approve Lining
- The Final Camera Video Is Your Proof
- What Lining Costs
- The Bottom Line
Pipe lining can give an old sewer line a seamless new pipe without digging up the yard. When it is done well, it lasts for decades. When it is rushed, it can cause new trouble. This guide explains the most common pipe lining problems, what causes them and how to make sure your job is done right.
Most lining problems come from poor cleaning, careless measuring or a pipe that was not a good fit. Ask the service provider how each step will be checked.
Why Most Lining Problems Start Before the Liner Goes In
A liner is only as good as the pipe it is placed in. Lining cures a resin-soaked tube against the inside wall of your old pipe, so anything left in that pipe becomes part of the new one.
That is why careful preparation matters more than any other step. Most of the problems below come from skipped cleaning, poor measuring or a line that was not a good fit in the first place.
Problem 1: Roots and Debris Left in the Pipe
If roots, grease or scale are not fully removed, the liner cures over them. The result is bumps and narrow spots that catch waste and cause clogs.
How to avoid it: the line should be cleared with hydro jetting or a root cutter, then checked on camera before the liner goes in.
Problem 2: Wrinkles and Folds in the Liner
Wrinkles form when the liner is the wrong size, is not inflated evenly or is pulled through a bend too quickly. Small wrinkles are often harmless, but large folds can trap paper and slow the flow.
How to avoid it: the pipe should be measured on camera so the liner matches its diameter and length, and the crew should check the cured liner on camera afterward.
Problem 3: Branch Connections Left Blocked
A liner covers every opening in the pipe, including side connections from other drains. If a connection is not reopened after curing, that drain will back up.
How to avoid it: ask how many connections the line has and how they will be reopened. The final camera video should show each one cut open cleanly.
Problem 4: A Soft or Incomplete Cure
The resin must cure fully with hot water, steam or UV light. If the cure is cut short or uneven, parts of the liner can stay soft and weaker than they should be.
How to avoid it: work with a crew that follows the resin maker's cure times and checks the liner before reopening drains.
Problem 5: Lining a Pipe That Should Be Replaced
A liner takes on the shape of the pipe around it. If the old pipe sags, has badly offset joints or is partly collapsed, the new liner keeps those same flaws.
Orangeburg pipe is a common example, since it often flattens before it fails. Learn how to spot Orangeburg pipe, and see when pipe bursting is the better fix.
Problem 6: Weak Seals at the Ends
The two ends of the liner, at the cleanout and near the street, must be sealed well. A poor seal can let water travel between the liner and the old pipe.
How to avoid it: ask how the ends will be finished and look for them in the final camera video.
Pipe Lining Problems at a Glance
| Problem | Common cause | How it is prevented |
|---|---|---|
| Bumps and narrow spots | Roots or scale left in the pipe | Full cleaning and a camera check first |
| Wrinkles and folds | Wrong liner size or uneven inflation | Measuring the pipe on camera |
| Drain backs up after lining | Branch connection not reopened | Counting and reopening every connection |
| Soft liner | Short or uneven cure | Following resin cure times |
| Sag still holds waste | Lining a pipe that needed replacing | Choosing the right method from camera footage |
| Water behind the liner | Poor seal at the ends | Careful end finishing |
Questions to Ask Before You Approve Lining
- Can I see the camera video of my pipe before and after cleaning?
- Is my pipe round enough to line, or would bursting or digging be better?
- How many branch connections are there, and how will you reopen them?
- How will the liner be cured, and how long does that take?
- Will I get a copy of the final camera video?
- Is the permit and city inspection included in the price?
The Final Camera Video Is Your Proof
The best way to know your job was done right is to watch the final camera run. A good liner looks smooth and continuous, with clean openings at every connection and no large folds.
If your line has not been checked yet, start with a sewer camera inspection. It shows whether the pipe is a good fit for lining before you spend anything on the work.
Keep a copy of the video with your home records. If you sell the house later, it shows buyers exactly what was done.
What Lining Costs
Pipe lining cost depends on length, access and the number of connections to reopen. Lining often costs less overall than digging once concrete and landscaping repairs are counted.
Compare methods in our guide to trenchless vs traditional sewer repair.
The Bottom Line
Most pipe lining problems are avoidable with good cleaning, careful measuring and a final camera check. When the pipe is a good fit and the work is done carefully, a liner can seal out roots for decades. Learn more on our pipe relining page.
Call Cerritos Sewer Co. at (562) 603-5090 to ask about a camera inspection and its cost.
Have a Question About Your Sewer Line?
Call any time to be connected with a local service provider and ask about a camera inspection and its cost. Or send a message and ask about your situation.
Related Guides

How to Prepare for Pipe Bursting: A Homeowner's Checklist
A few simple steps before the crew arrives make pipe bursting faster and easier. Here is what to do the week before, the day of and after.
Read more →
Trenchless vs Traditional Sewer Repair: Which Is Right for Your Home?
Digging a trench or working through small pits? Compare cost, time, yard damage and when each method makes sense.
Read more →
What Is a Bellied Sewer Line? Signs, Causes and Repair Options
A bellied sewer line has a sag that holds water and waste. Learn the warning signs, why bellies form and the repair options to ask a service provider about.
Read more →